内容
Vue.js + Spring Boot + HerokuでSPAを作成しました。
Vue.jsとSpring Bootは同じリポジトリ上で管理し、ビルドも同時に実施します。
それにより、最低限のソースコード管理とHerokuへのデプロイ時にまとめてビルドする状態を実現しました。
本記事は第四弾として、認証認可のVueの実装を紹介します。
Vue.js + Spring Boot + Heroku(はじめに 兼 まとめ)
Vue.js + Spring Boot + Heroku(プロジェクト作成~ビルド)
Vue.js + Spring Boot + Heroku(Herokuへデプロイ〜環境毎プロパティファイル作成)
Vue.js + Spring Boot + Heroku(認証作成 Spring Boot編)
Vue.js + Spring Boot + Heroku(認証作成 Vue編)
Vue.js + Spring Boot + Heroku(サンプルAPI作成)
ライブラリ追加
axiosを使用するため、ターミナルからnpmに追加します。
|
1 2 3 |
$ cd src/vue/ $ npm install axios $ npm install vuex |
src/vue/src配下のmain.jsにaxiosとvuexを設定
|
1 2 3 4 5 6 7 8 9 10 11 12 13 14 15 16 |
import Vue from 'vue' import App from './App.vue' import axios from 'axios'; import store from './store'; Vue.config.productionTip = false axios.defaults.baseURL = '/api'; // Cookieを有効にする。 axios.defaults.withCredentials = true; new Vue({ store, render: h => h(App) }).$mount('#app'); |
vuexにログイン・ログアウトを実装
src/vue/src配下にstoreフォルダを作成して配下にindex.jsを作成し、ログイン処理を実装する。
|
1 2 3 4 5 6 7 8 9 |
src/ ├── App.vue ├── assets │ └── logo.png ├── components │ └── HelloWorld.vue ├── main.js └── store └── index.js |
|
1 2 3 4 5 6 7 8 9 10 11 12 13 14 15 16 17 18 19 20 21 22 23 24 25 26 27 28 29 30 31 32 33 34 35 36 37 38 39 40 41 42 43 44 45 46 47 48 49 50 |
import Vue from 'vue'; import Vuex from 'vuex'; import axios from 'axios'; Vue.use(Vuex); export default new Vuex.Store({ state: { id: null, }, getters: { id: state => state.id, isAuthenticated: state => { return state.id != null; }, }, mutations: { updateId(state, id){ state.id = id; }, resetData(state) { state.id = null; }, }, actions: { login({ commit }, authData) { axios .post( '/login', { id: authData.id, password: authData.password } ) .then(() => { commit('updateId', authData.id); }); }, logout({ commit }) { axios .post( '/logout' ) .then(() => { commit('resetData'); }); }, } }); |
App.vueにログインサンプルを実装
src/vue/src配下のApp.vueにログイン・ログアウトのサンプルを実装します。
|
1 2 3 4 5 6 7 8 9 10 11 12 13 14 15 16 17 18 19 20 21 22 23 24 25 26 27 28 29 30 31 32 33 34 35 36 37 38 |
<template> <div> <template v-if="!this.$store.getters.isAuthenticated"> <input type="text" v-model="id"> <input type="password" v-model="password"> <button @click="login">ログイン</button> </template> <template v-if="this.$store.getters.isAuthenticated"> <p>{{this.$store.getters.id}}さん</p> <button @click="logout">ログアウト</button> </template> </div> </template> <script> export default { data() { return { id: '', password: '', }; }, methods: { login() { this.$store.dispatch('login', { id: this.id, password: this.password }); this.id = ''; this.password = ''; }, logout() { this.$store.dispatch('logout'); }, } }; </script> |
vue-CLIのプロキシ設定
vueの開発はvue CLIのserveを利用して開発します。
開発時はvue CLIでローカルにホストしたvueからローカルにホストしたSpring BootのAPIへアクセスします。Vue CLIの開発用ローカルサーバから取得したJavascriptからSpring BootのローカルサーバへアクセスするとCORSの制約に引っかかるので、src/vue/配下のvue.config.jsへVue CLIのプロキシサーバを指定します。
※直接指定するとCORSの制約でブラウザのセキュリティ機能によりエラーとなります。
vue.config.js
|
1 2 3 4 5 6 7 8 9 10 |
module.exports = { publicPath: '/vue/', devServer: { proxy: { "/": { target: "http://localhost:8080", } } } } |
vue-CLIのweb consoleから「タスク」→「serve」→「タスクの実行」で開発用ローカルサーバを起動します。
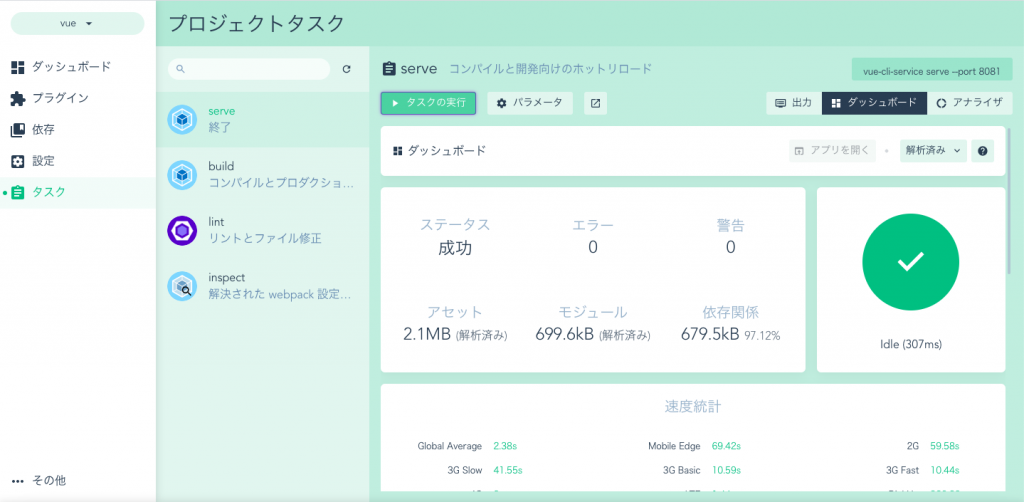
起動が完了したら、http://localhost:8081/vue/へアクセスし、挙動を確認します。
※Springで環境変数毎に異なるDBを設定する。のデータであれば「user1, password」「user2, password」でログインできます。
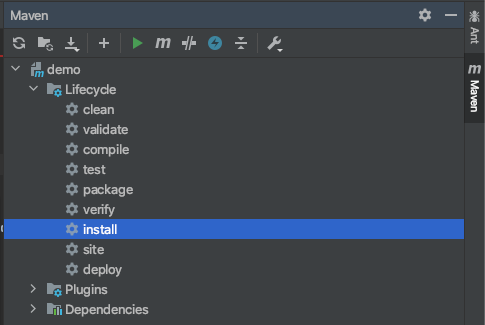
Spring Bootでホストした挙動を確認するため、IntelliJのmavenタブからmaven installを実行してVueをビルド。
【追記】windows環境の場合、npmコマンドの–prefixオプションが意図した動作をしません。手動でのビルドが必要です。
|
1 2 3 |
cd src/vue npm install npm build |
Spring Boot起動中の場合は一旦終了(■マーク)し、Spring Bootを起動(▶︎マーク)。http://localhost:8080/へアクセスし、トップページを確認。
